This sculpture process written
by RG de Stolfe
This Sculpture Process series is dedicated to the memory of Jerry House of House Bronze foundry.

To understand how an artist makes a bronze sculpture, one must understand the many steps of its process. On this page is a condensed summary of the many nuances and details necessary to go from idea to finish sculpture.
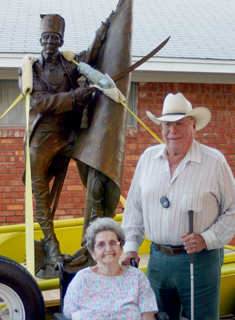
Garland A. Weeks, Sculptor
4101 N County Road 2000
Lubbock, Texas 79415


Copyright 2018, Garland A. Weeks • Website by Robert-George de Stolfe
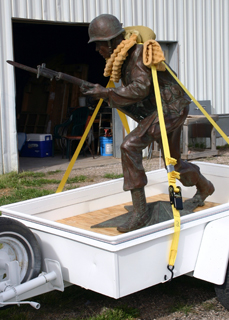
The final step is to mount the sculpture onto a base. Marble, granite, and various woods are commonly used. However, Weeks likes to mount small sculptures onto finished walnut bases. If the sculpture is a monument or an outdoor piece, it is permanently mounted onto stone or some other durable material on site.
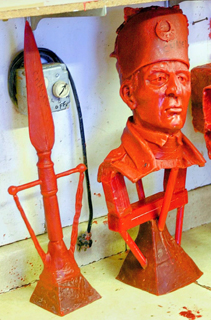
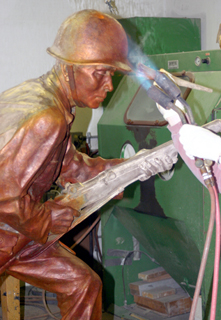
The last step is the finishing process. The entire sculpture is blasted with sand to prepare the surface to receive a patina, which establishes the final color as well as provides a protective layer. The color, of thousands available, is achieved by applying specially formulated chemicals, similar to ceramic glazes, in one to six layers, depending on the color desired, onto the raw bronze. Portions of the sculpture are heated, and then a chemical is applied, by brush or sprayed on, each giving a different texture. This process of adding heat and applying chemicals is done over the entire sculpture for each layer. Once all the coats of the finish are applied, a final coat of a clear sealant is applied to protect the finish. Weeks says, “All bronzes will darken over a long period of time.”
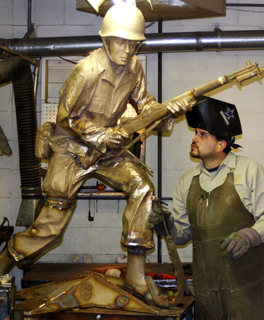
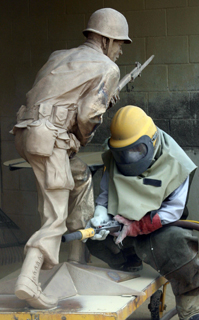
After all the individual parts of the sculpture are cast and cooled, the next step is to reassemble the bronze pieces back into a single sculpture. First, the pour cups, sprues, and vents are cut off each piece. Because bronze shrinks a little after cooling, the pieces are fitted together as closely as possible and tack welded in place. Then, all the gaps are welded solid and chased, or ground, as well as any imperfections fixed.
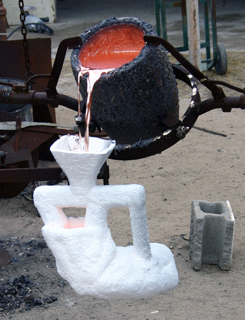
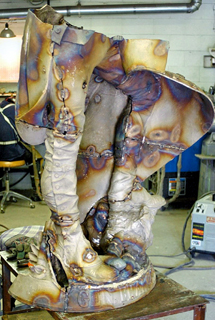
Each mold of the sculpture is separately fired in a 2000°F kiln to vitrify the ceramic slurry into a hardened glass composition, also changing the mold color to white. The wax is burned out to create a void in the mold. Immediately, molten bronze at 1900°F is poured into the void up to the pour cup. After 15 minutes, the metal is solidified enough to break off the ceramic-glass shell with a hammer and expose the hardened casting. The bronze is then allowed to completely cool.
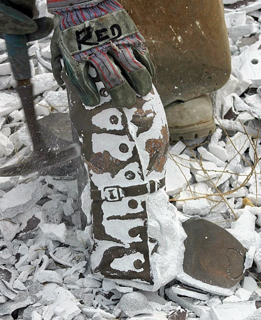
Weeks makes his bronze sculptures by the lost wax method. The foundry applies red wax on the inside, the side that touched the clay, of the rubber mold. He says that any sculpture he makes that is larger than roughly the size of a fist is made hollow, while any sculpture smaller than that is poured solid. Therefore, the thickness of the applied wax onto the rubber form determines how thick the walls of the sculpture are. After removing the plaster and rubber molds, just the wax form is left, which should exactly replicate the clay form. Then, additional utility forms in wax, like a pour cup, sprues, and vents, are added to aid in the bronze pouring process. Yellow ceramic slurry is applied, or invested, over the entire wax form and allowed to cure.
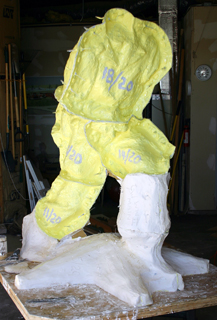
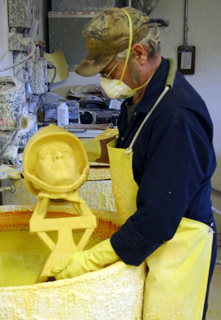
The mold-making phase starts the realization of the final sculpture. To make pouring the bronze more effective and easier, predetermined parts of the clay model are removed for separate molds to be made. The next step is to establish shim lines. The shims are pieces of wax-coated cardstock that are pushed into the clay in positions that determine where the mold sections are to separate. Then, specially designed rubber is applied in layers within each of the shimmed areas. Usually, about five layers are required to reach a thickness of about one-quarter inch. Next, plaster of Paris is applied over the rubber mold to create the “mother” mold. After the plaster dries, the mother mold is removed, and then the flexible rubber mold is carefully removed. The artist reassembles and ties all the sections together for shipping to the foundry.
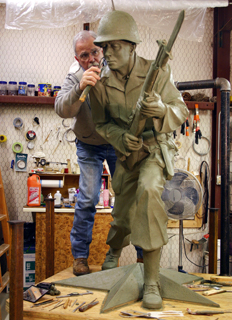
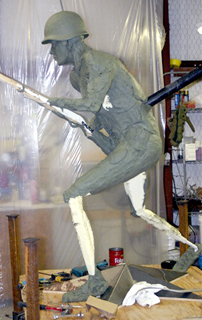
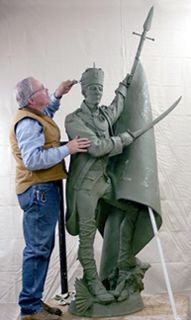
To start, the artist judiciously applies oil-based clay onto the form. In figure sculpting, Garland Weeks usually begins forming the head. He states that the proportions of the head loosely determine the proportion of the rest of figure. Working with the oil clay is the longest part of the sculpting process: to add details, adjust proportions, and shape the overall surface texture. According to Weeks, an artist needs to “be aware of modeling the [sculpture’s] surface with the proper texture.” A critical step in the creation process, at the point near completion, is to step away from the sculpture for a while to let the eyes and mind rest. After a few days, the artist is able to look at the sculpture with “fresh eyes” and be able to detect what might need to be modified. Once the artist or customer is satisfied with the sculpture, the mold-making process can begin.
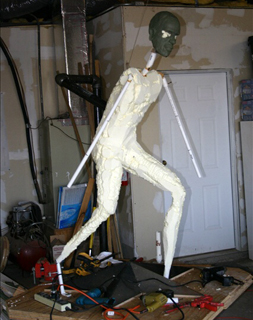
The process of creating a sculpture starts with ideas. Usually, an artist makes a small maquette to establish his ideas into a physical form after researching and developing details that convey relevancy and authenticity to the sculpture. After deciding what scale to use, the sculptor starts building the armature, a structural framework formed out of steel pipe, pvc pipe, and wood. Foam fills in areas of large mass, which is suitably trimmed.